
My Stabby Process
I thought I’d give you a little insight into how I make a stabby from start to finish.
1.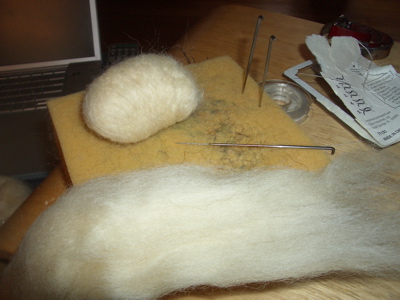
This is what I am working with. It’s wool roving it reminds me a bit of candy floss, and comes in lots of different colours it also comes from different sheep. This is corriedale wool from Great Britain.
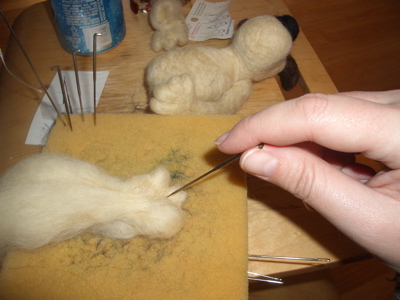
2.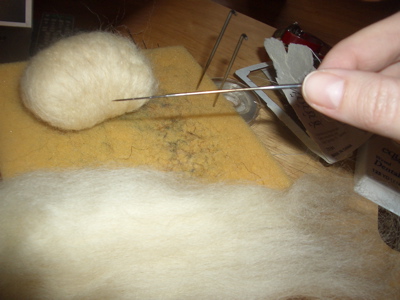
This very scary looking sharp barbed needle is what I use to stab the aforementioned wool roving millions of times. It’s very bizarre because for some unknown reason the stabbing and the barbs cause the fibres in the wool to bond and firm up. It’s very addictive but very time consuming and I don’t think I need to tell you how much it hurts when you stab yourself with it……..ouchies!!!!
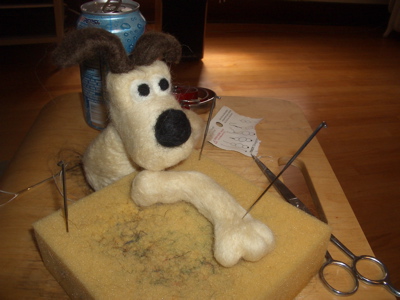
3.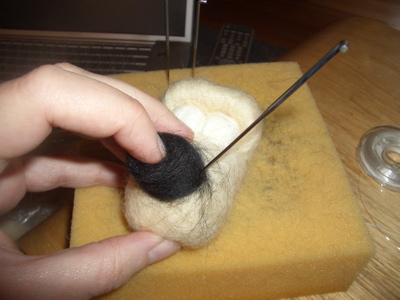
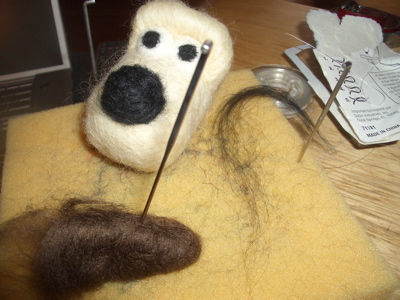
Here I am making the little critters face. I’ve already added his eyes and now I am stabbing his nose.
4.
Ears.
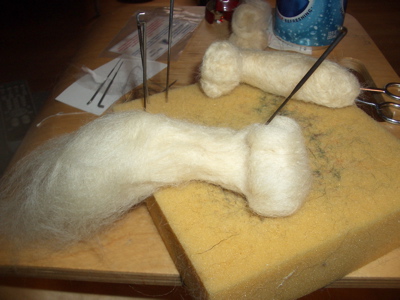
5.
Arm and hands being shaped.
6.
Two arms might be nice. This is where it can be tricky as you need to have similar arms and to make sure that you have a left and a right. There is nothing peskier than winding up with 2 left hands after 4hours of stabby stabby.
7.
Legs being shaped.
8.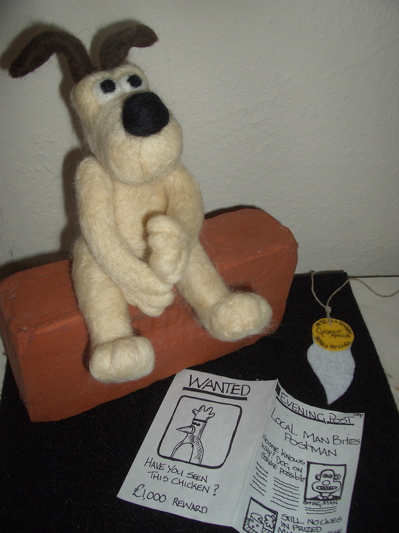
Finished little critter. I hand drew a newspaper for Gromit to pose with. I like acessories for my critters. I like to think it makes them even more unique.
9.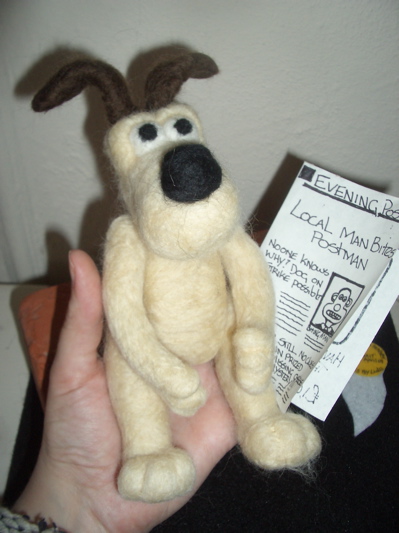
Do you like him?

